This can be done via the Business Dashboard using the Menu Editor under Online Ordering.
Follow the steps given below:
1. Select Menu Editor under Online Ordering on the dashboard navigation list.

2. Find the Item you want to manage the add-on limit for by picking them from their relevant Category / Sub Category and select the same.

3. On selecting the Item, you will see the Item Details tab for the same, scroll down to Add-on group for this item.
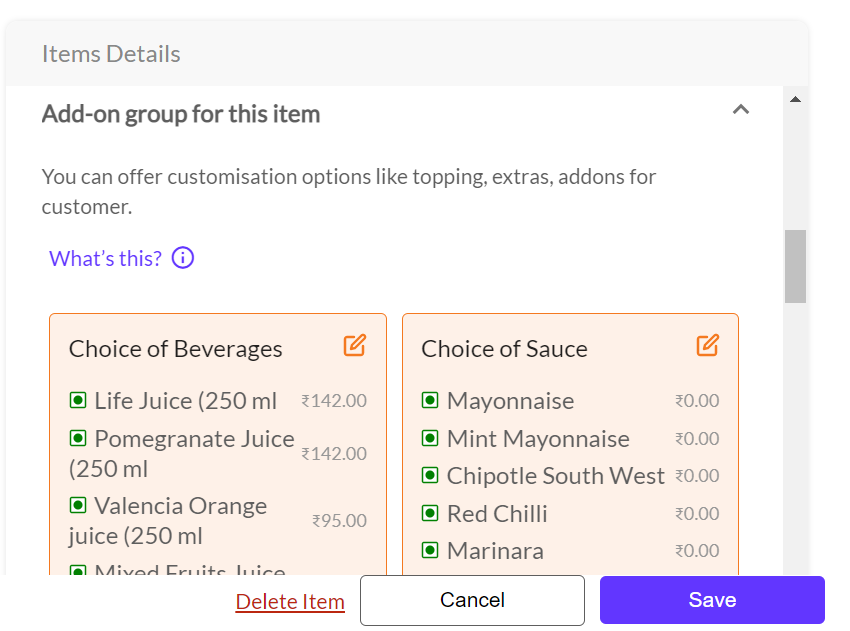
4. Click on the pencil icon  on the top right corner of the add-on group you want to set a limit for.
5. Choose the Minimum and Maximum add-on items that can be selected and click on Save Add-on Group.

6. Once you're done with edits click Save.
