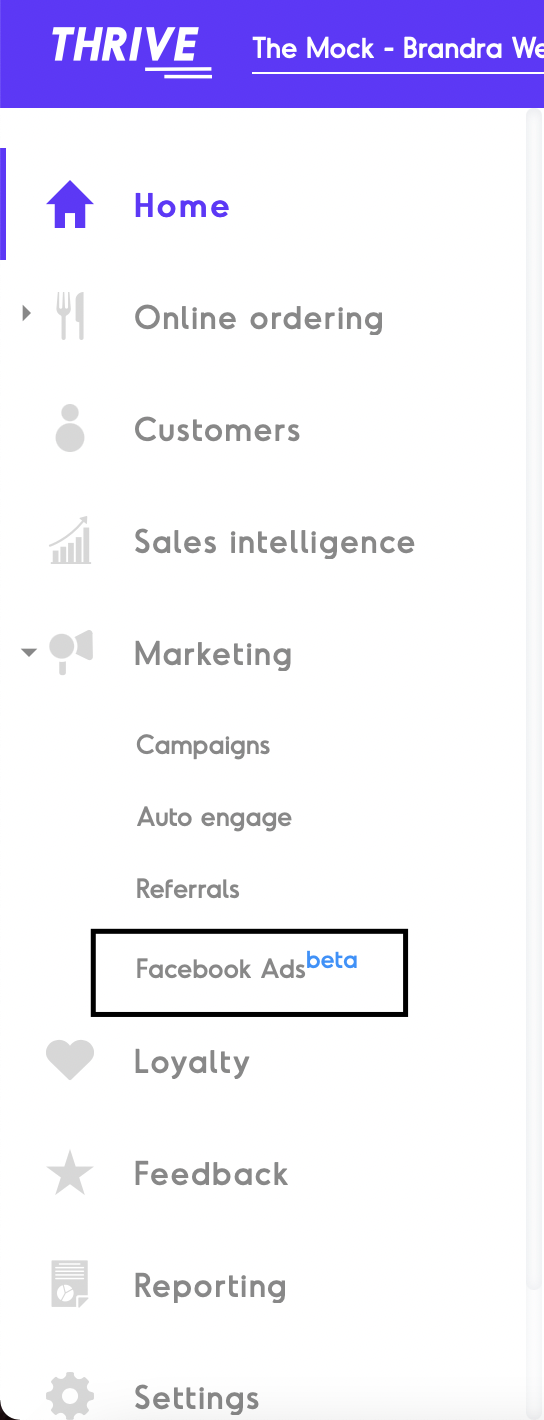
This can be done through your Business Dashboard using Facebook Ads under Marketing.
Follow the steps given below:
1. Select the Facebook Ads option under Marketing in the dashboard navigation menu.
2. Choose the Create Ad option from the top right corner of the screen.
Ensure you're logged into Facebook from the same browser.

3. Sign-in to Facebook if not done from the browser already to connect your account with Thrive.
Select the Ad Account and Facebook Page you want to run the Ad for.

4. Enter the Campaign Name for the advertisement you want to run.

5. Choose your Campaign Objective from the available options.
Check out our latest addition, Conversion Ads.

6. Select the Facebook Pixel ID and Event for which you want to optimize the campaign. For example, you can choose Pixel ABC and Add To Cart/ Purchase.

7. Enter the Ad Set Name for your campaign.

8. You have an option between a daily budgeting schedule, and a lifetime budgeting schedule. Pick the one according to your preference, and you can insert the amount you would like to spend. You have an option to run the ad continuously until you want to stop it, or you can schedule it for a specific time period (with a start and end date).
Choose between Daily and Lifetime budget options.
As the names suggest, you spend a fixed amount that you enter daily or during the lifetime of the campaign.
Further, define the Schedule of the Campaign by selecting a Date and Time for the Start and End.

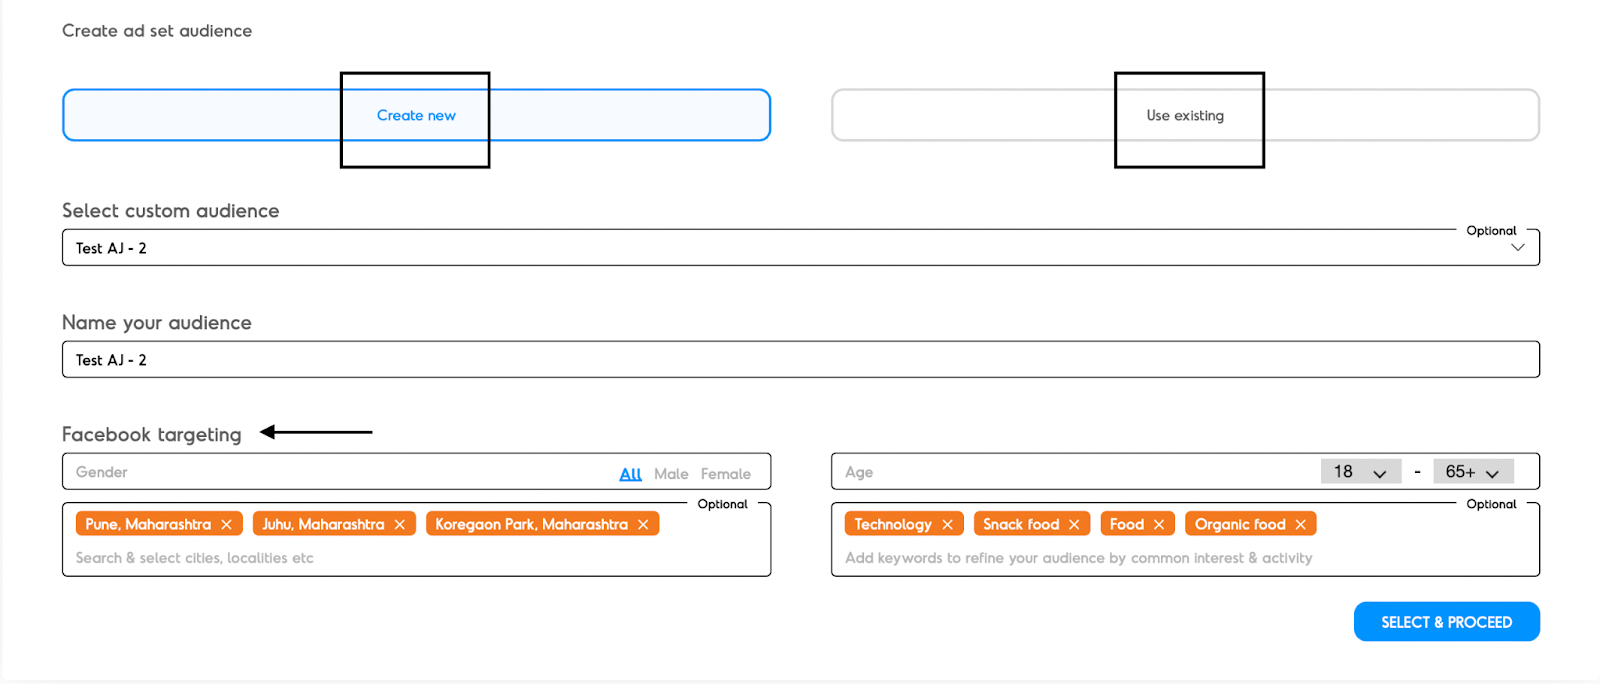
9. Proceed to defining your Ad Set, and your Audience and Targeting.
Choose to Create New or Use Existing previously Saved Audience.
You can Create a Custom Audience of the customers that have previously ordered from you, or Select Existing Custom Audience.
Further, you can Create a Lookalike Audience based on an a custom audience or Select Existing Lookalike Audience.
Use the general targeting options as available on Facebook itself, where you select the Gender, Age, Location and Interests.
Name your audience to proceed further.
10. Next, you have to determine the Placements of your advertisements.
You can choose Automatic and let Facebook decide the best possible placements to deliver your ads or choose Edit Placement and manually select the same from the options between Platform and Placements such as Feed, Search, Stories and more.

11. Proceed further by naming your Ad.

12. Lastly, setup the Ad you want to run. Choose to Create New or Use Existing posts from your page or handle as an Ad.
You can upload a Single Creative or Video.
Connect your Website and enter the destination link.
Add Primary Text, Headline and Description.
You'll see a preview of your ad on the right.

13. Once ready, click on Save to finish creating your ad.
